In order to access PaperCut WebPrint, you must be connected to Eduroam (recommended), wustl-2.0 or wustl-encrypted-2.0 (you can find instructions to connect here)
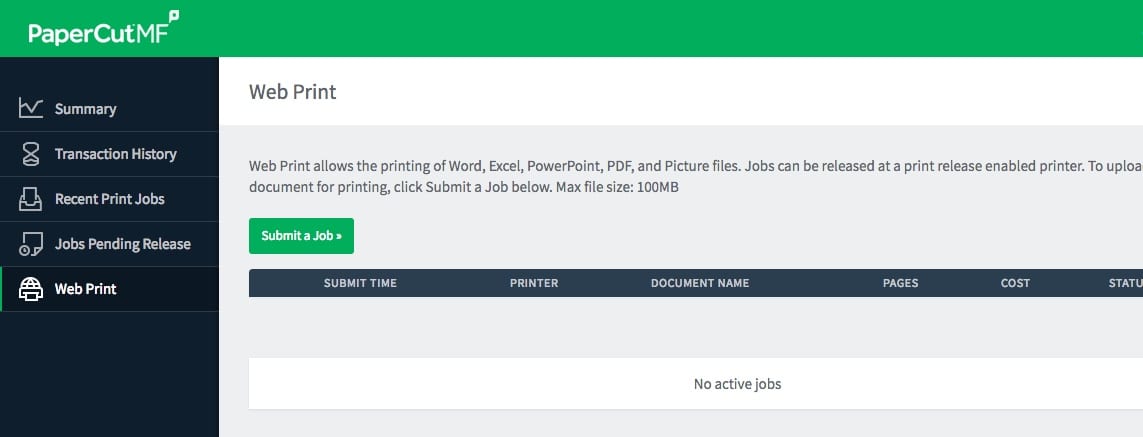
- When you sign on to your PaperCut account at myprinting.wustl.edu you should now see a new option called ‘Web Print’ beneath the ‘Jobs Pending Release’ option.

- Choose ‘Web Print’ to go to the main Web Print menu.

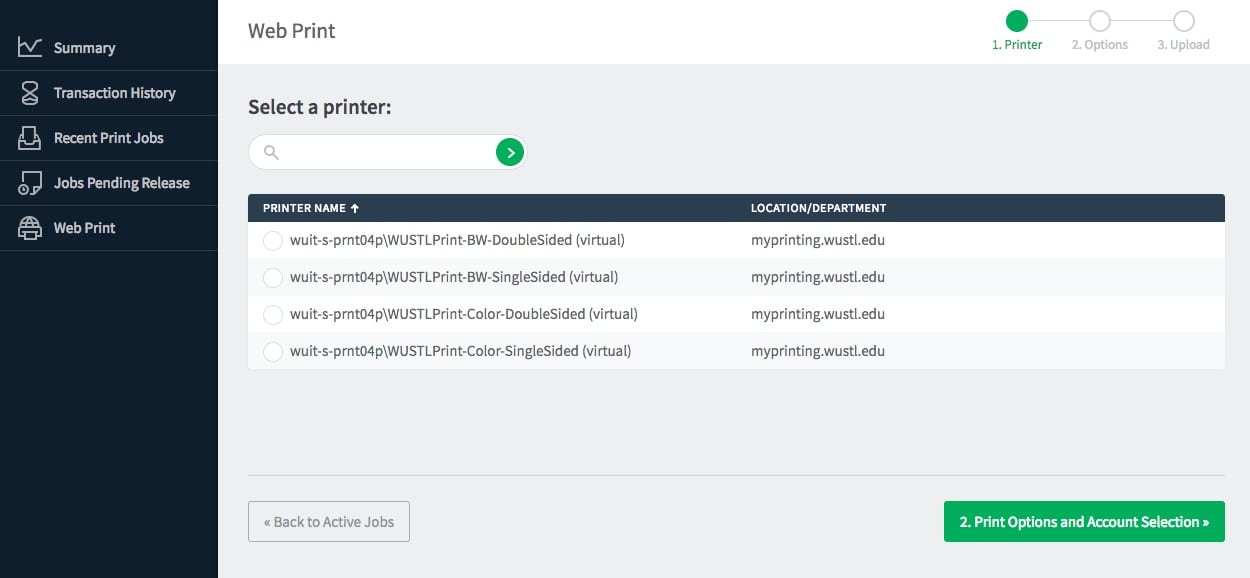
- Click on the button marked ‘Submit a Job’ and you’ll be taken to the Printer Selection menu. Select how you want your print job to be processed, and then click ‘2. Print Options and Account Selection’ to continue

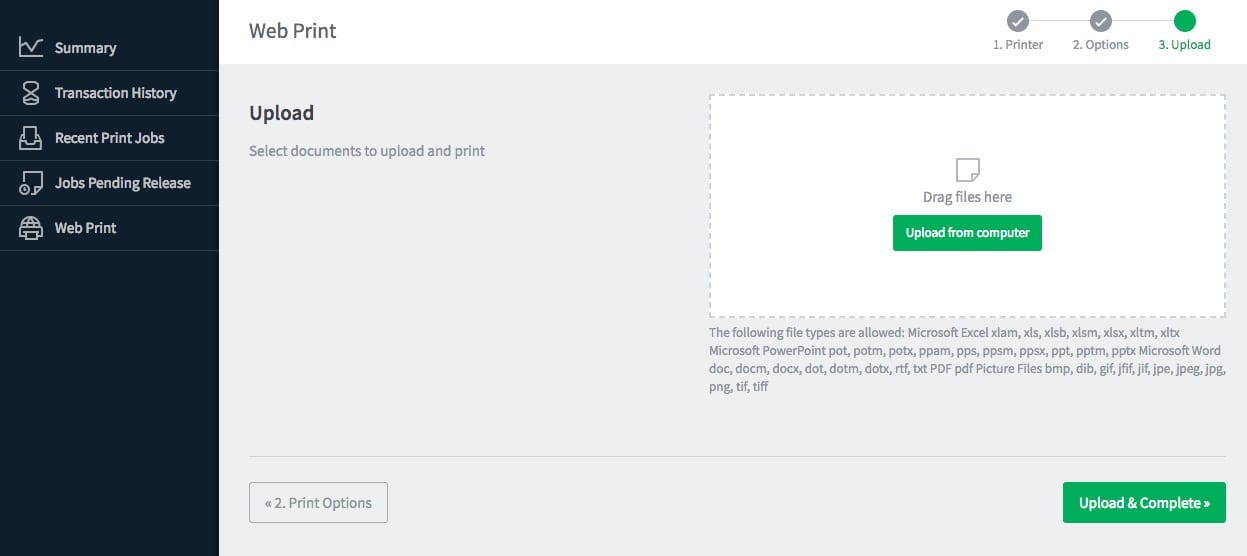
- Select the number of copies you want to produce and click on the green ‘Upload Documents’ button to bring up the Upload menu.

- Click on the green ‘Upload from computer’ to choose the files or drag your files to the section marked ‘Drag files here’.

- After choosing the files click on ‘Open’ and then ‘Upload & Complete’. Your screen should now look like this and your document(s) will be seen as queued for printing, waiting for you to use your card at one of the Papercut printers: